Five common mistakes with irrigation management in nurseries and greenhouses
Pressure is too low

This is by far the most common problem. Watch this video of an impact sprinkler not spinning because it is being operated at low pressure or scan this code. Impact sprinklers typically need 50 psi to operate. Gear drive rotors (such as the Hunter PGP or the RainBird 5000) need 45 psi. Stream nozzles (Rainbird R-VAN, TORO PRN or Hunter MP) need 40 to 45 psi. Senninger Wobblers are the exception and operate as low as 15 psi. Spray stakes generally require 15 to 25 psi. Drip emitters operate at 8 to 12 psi, unless they are pressure compensating and, in that case, they operate between 8 and 40 psi (Table 1).
| Device Type | Operating Pressure | Example Band/Model | Adjustable Arc? |
|---|---|---|---|
| Impact Sprinkler | 30 to 60 psi | RainBird 2045PJ (MaxiBird) | Yes |
| Gear Drive Rotors | 45 psi | Hunter PGP | Yes |
| Stream Nozzles | 40 to 45 psi | Toro PRN | Yes |
| Wobblers | 15 to 25 psi | Senninger Wobblers | No |
| Spray Stakes | 15 to 25 psi | Primerus Spot Spitters | - |
| Drip Emitters | 8 to 12 psi | Toro Dripline | - |
| Drip Emitters Pressure Compensating | 8 to 40 | Netafim WPCJ (Woodpecker) | - |
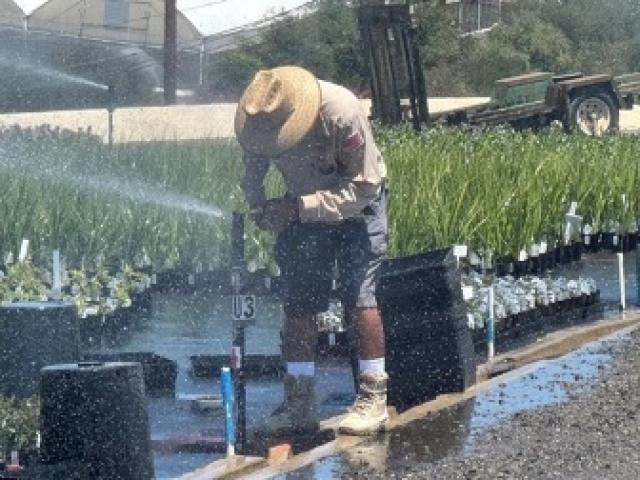
You need to be aware of the operating pressure of your irrigation system, and whoever manages it needs to have a way to measure and adjust pressure. Decreasing pressure can be done by installing a pressure regulator or by opening more irrigation valves or lines. Increasing pressure is harder: irrigate fewer irrigation blocks at the same time, install a booster pump or install a larger diameter mainline. Irrigating fewer blocks at one time is often impossible if the nursery is large and many irrigators are competing for the same water source, particularly in summer. Installing booster pumps or larger diameter lines are very expensive and not very popular options.
Solution: Give your irrigator a pressure gauge and make sure they know the operating pressure of your sprinklers, spray stakes or emitters. Irrigate less blocks at the same time, install a booster pump or replace the mainline with a larger diameter one.
Interception efficiency is low

Interception efficiency is the percentage of irrigation water applied to a bed falling into a container and is related to can spacing in the bed. This is a common issue in overhead sprinkler-irrigated nurseries and a difficult one to solve, since any solution implies a trade-off between water and labor. Interception efficiency is calculated by dividing the top area of a container by the area in the irrigation block that belongs to that container. You can also think of it as the cumulative area of all the containers in an irrigation block divided by the block area. It represents the probability that a drop of water produced by your sprinklers will fall into a container. It’s as high as 80% when containers are can-to-can and as low as 20% when there is one diameter width between containers (i.e. half as many as in a can-to-can configuration, also called can-spacing). Read this article or scan this code to learn more. Containers can be spaced on beds or on benches touching each other (can-to-can) at the beginning of the cycle when plants are small. As plants grow out, containers must be spaced out to let plants achieve good ornamental quality. This requires labor to move the plants but also is a logistical problem because the spaced plants take twice the space they did before. There must be some area available and hopefully close by for those plants to go. Due to these disadvantages, often growers space plants out directly to finishing spacing and accept a low interception efficiency (and thus low irrigation efficiency) at the beginning of the cycle.
Solution: Keep the plants can-to-can for as long as possible before spacing them to achieve retail quality. This requires more labor and creates a logistical issue. Another option is switching to drip.
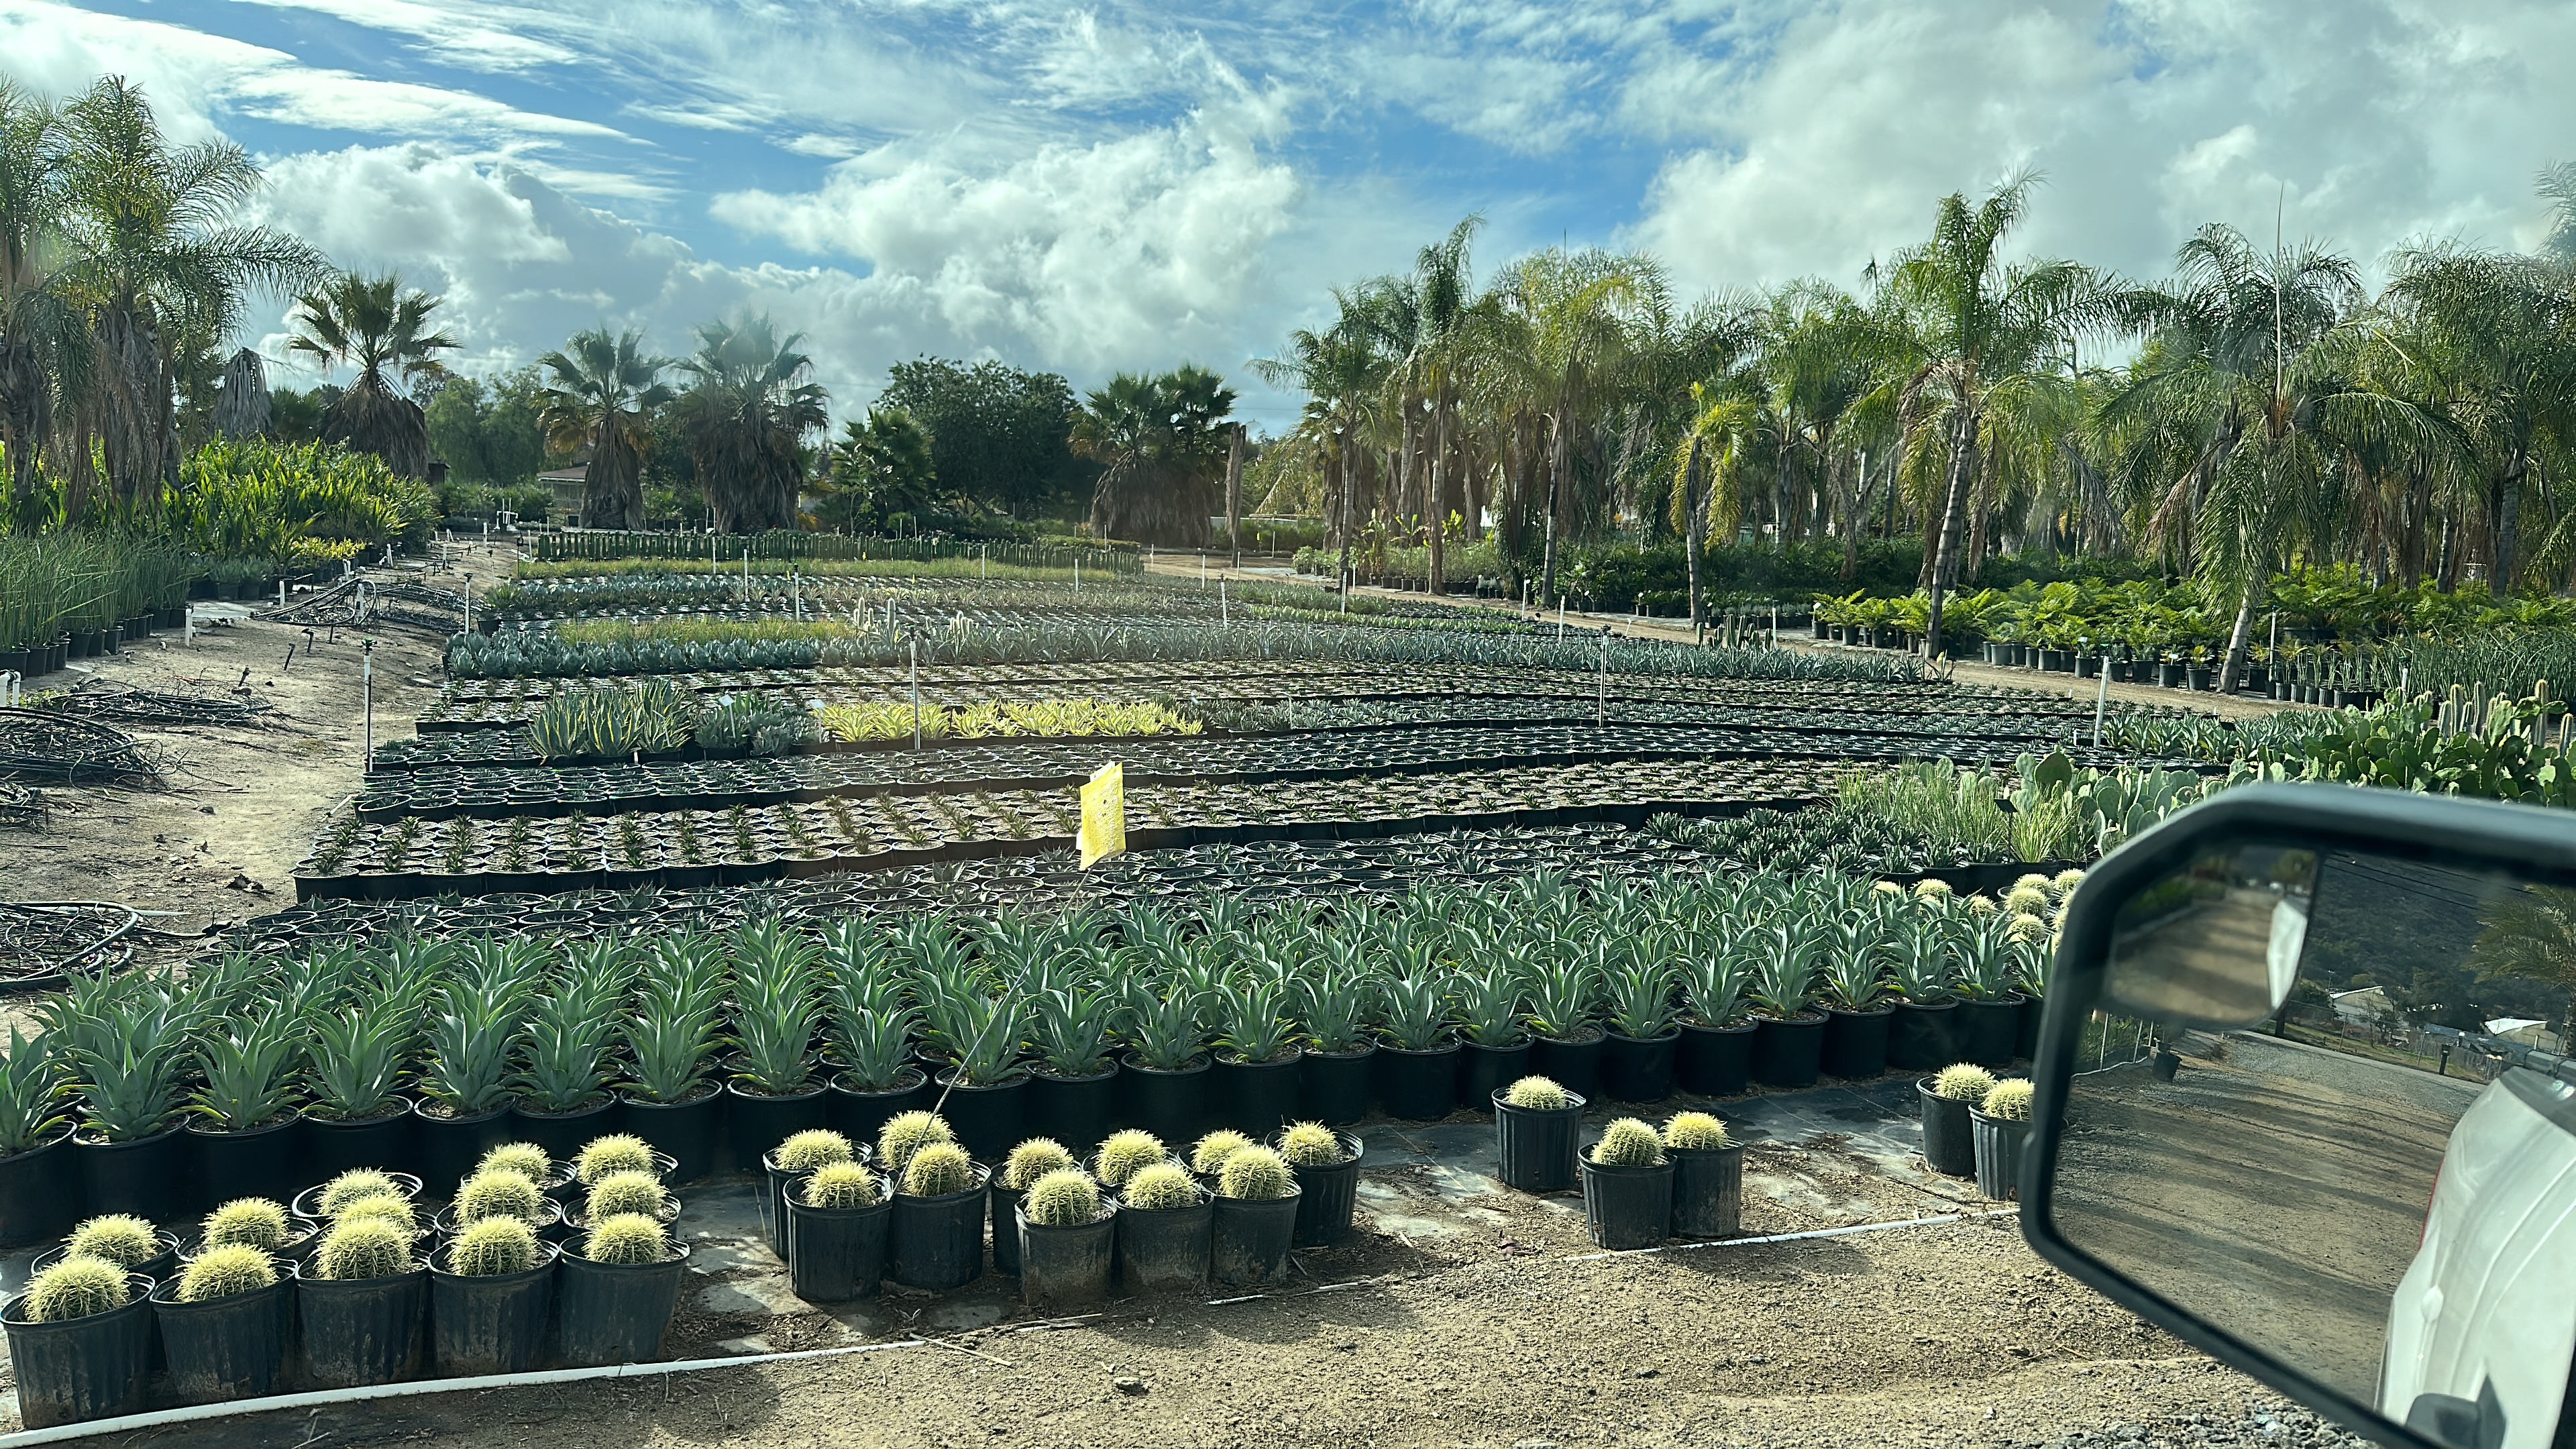
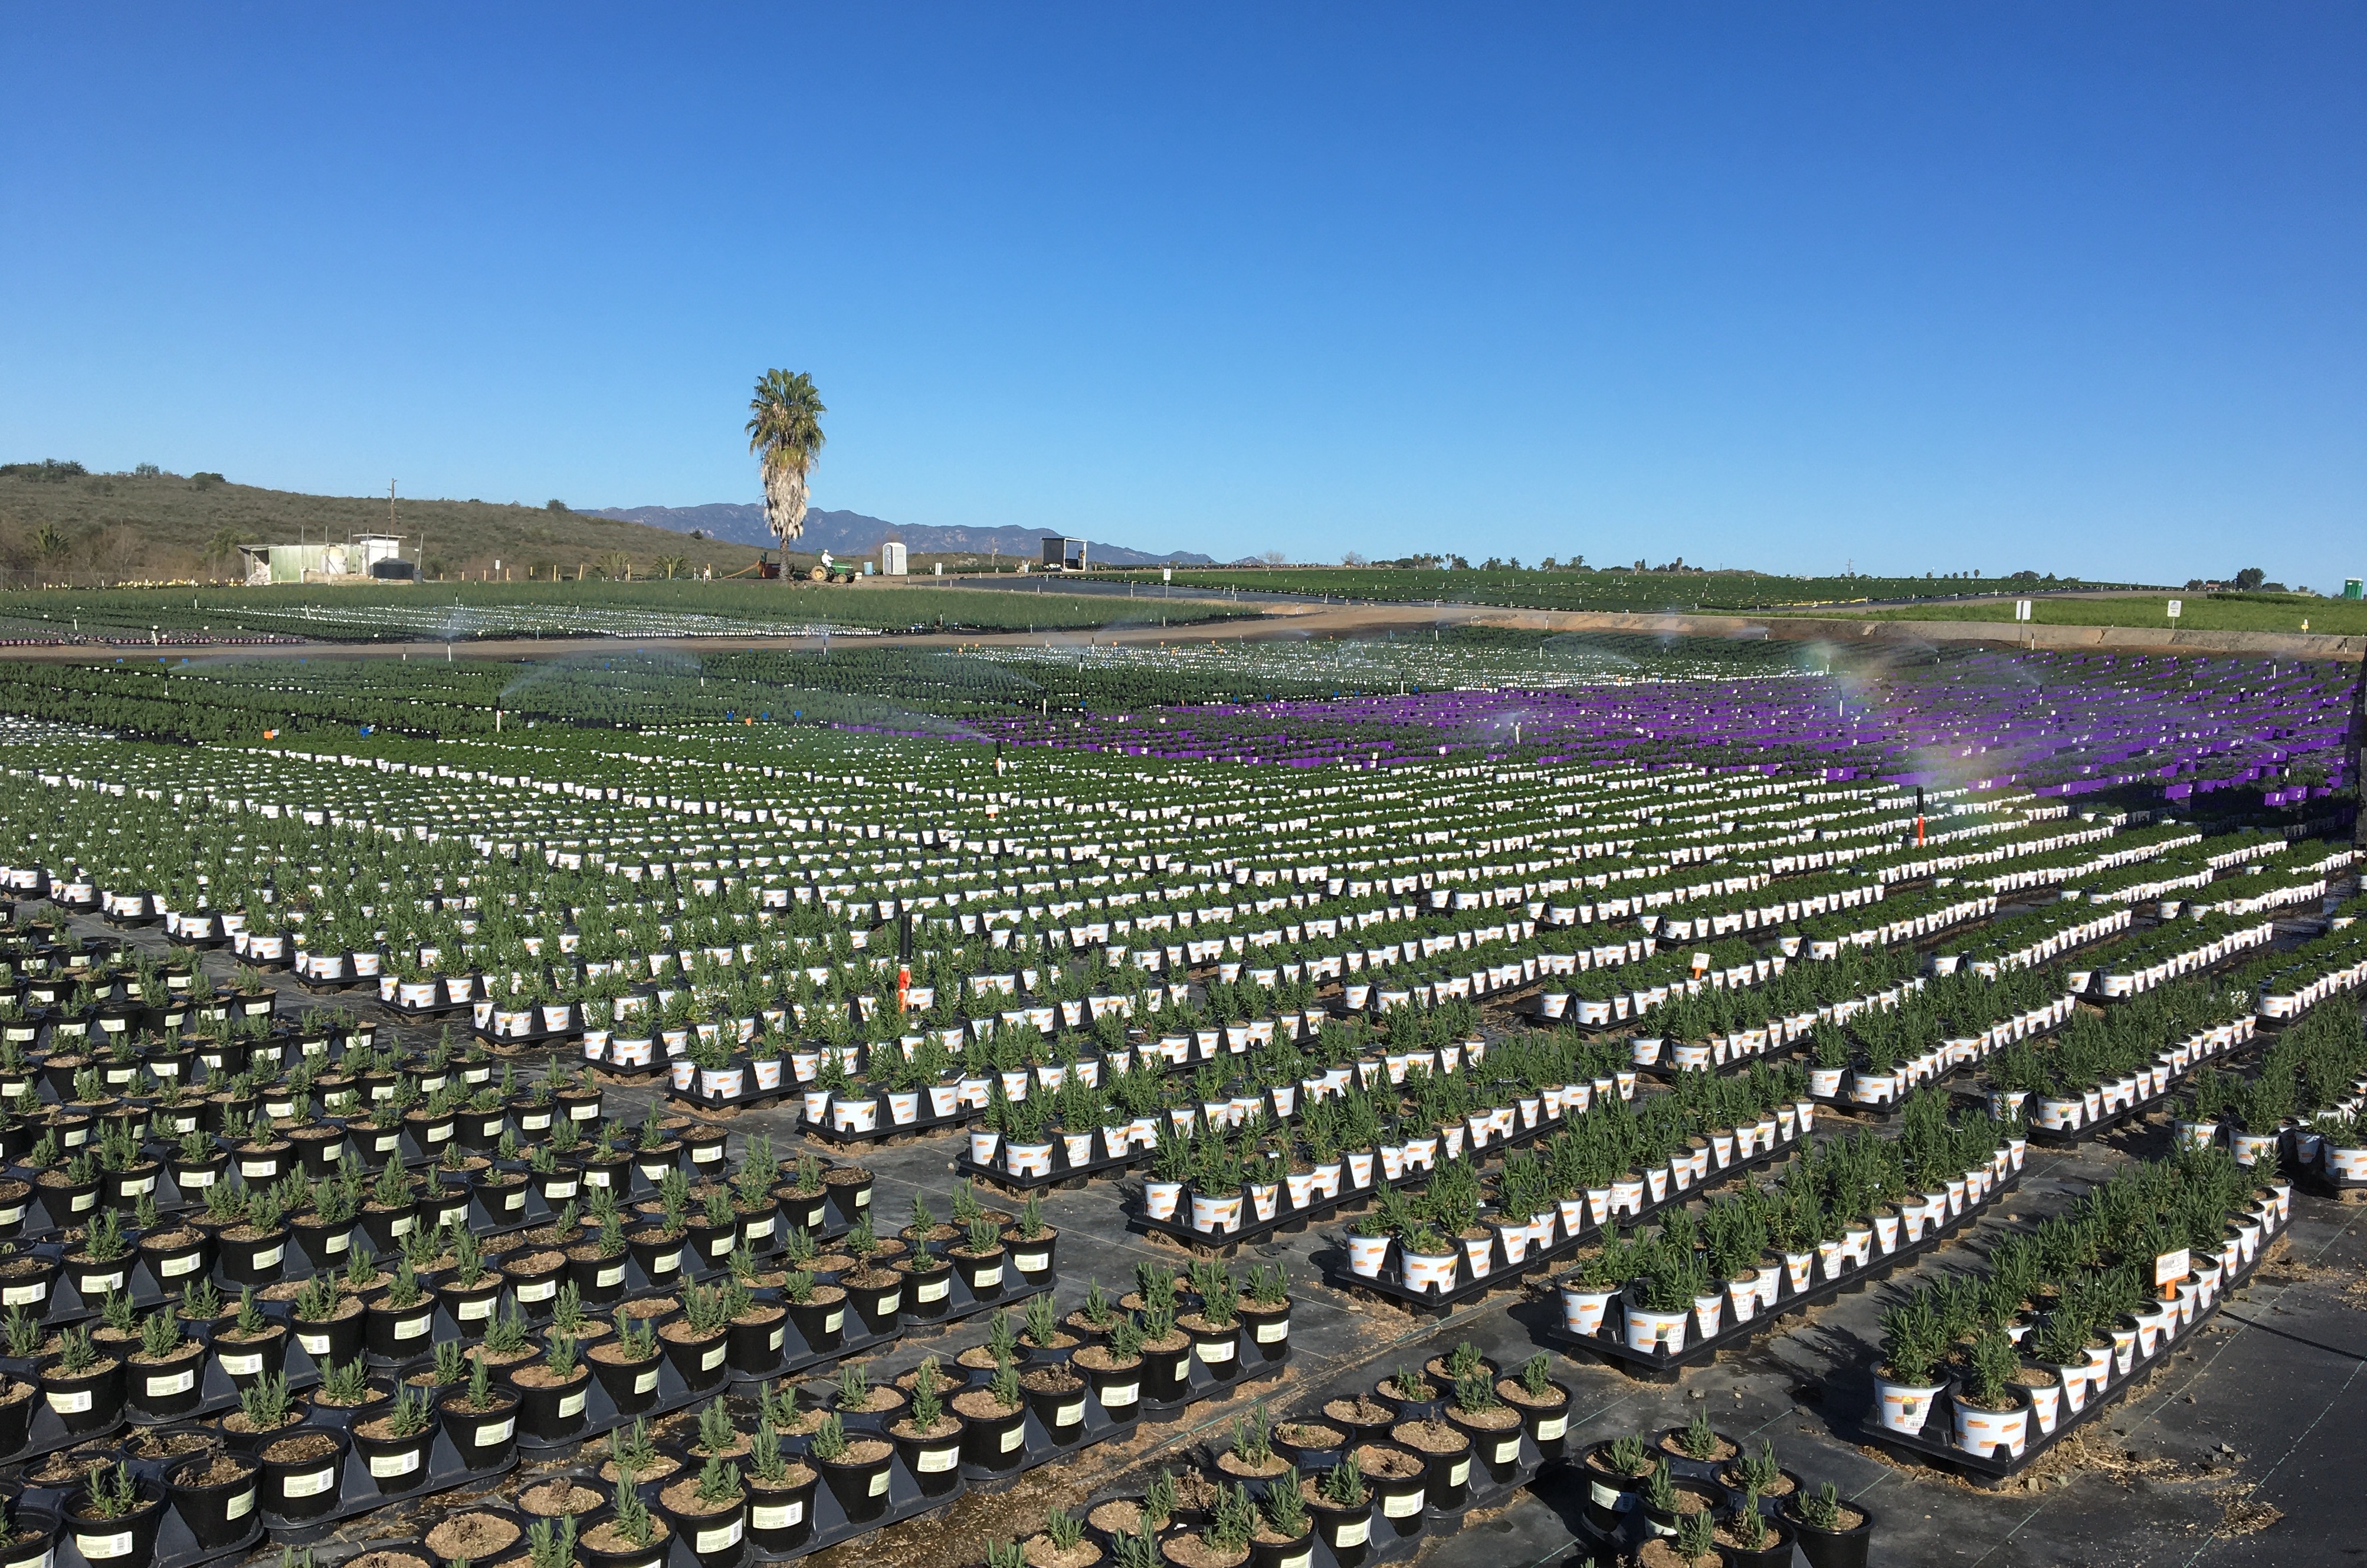
Figure 2. An example of can-to-can containers (left) and of wider spacing for container trays (right).
Sprinkler spacing is too wide or uneven
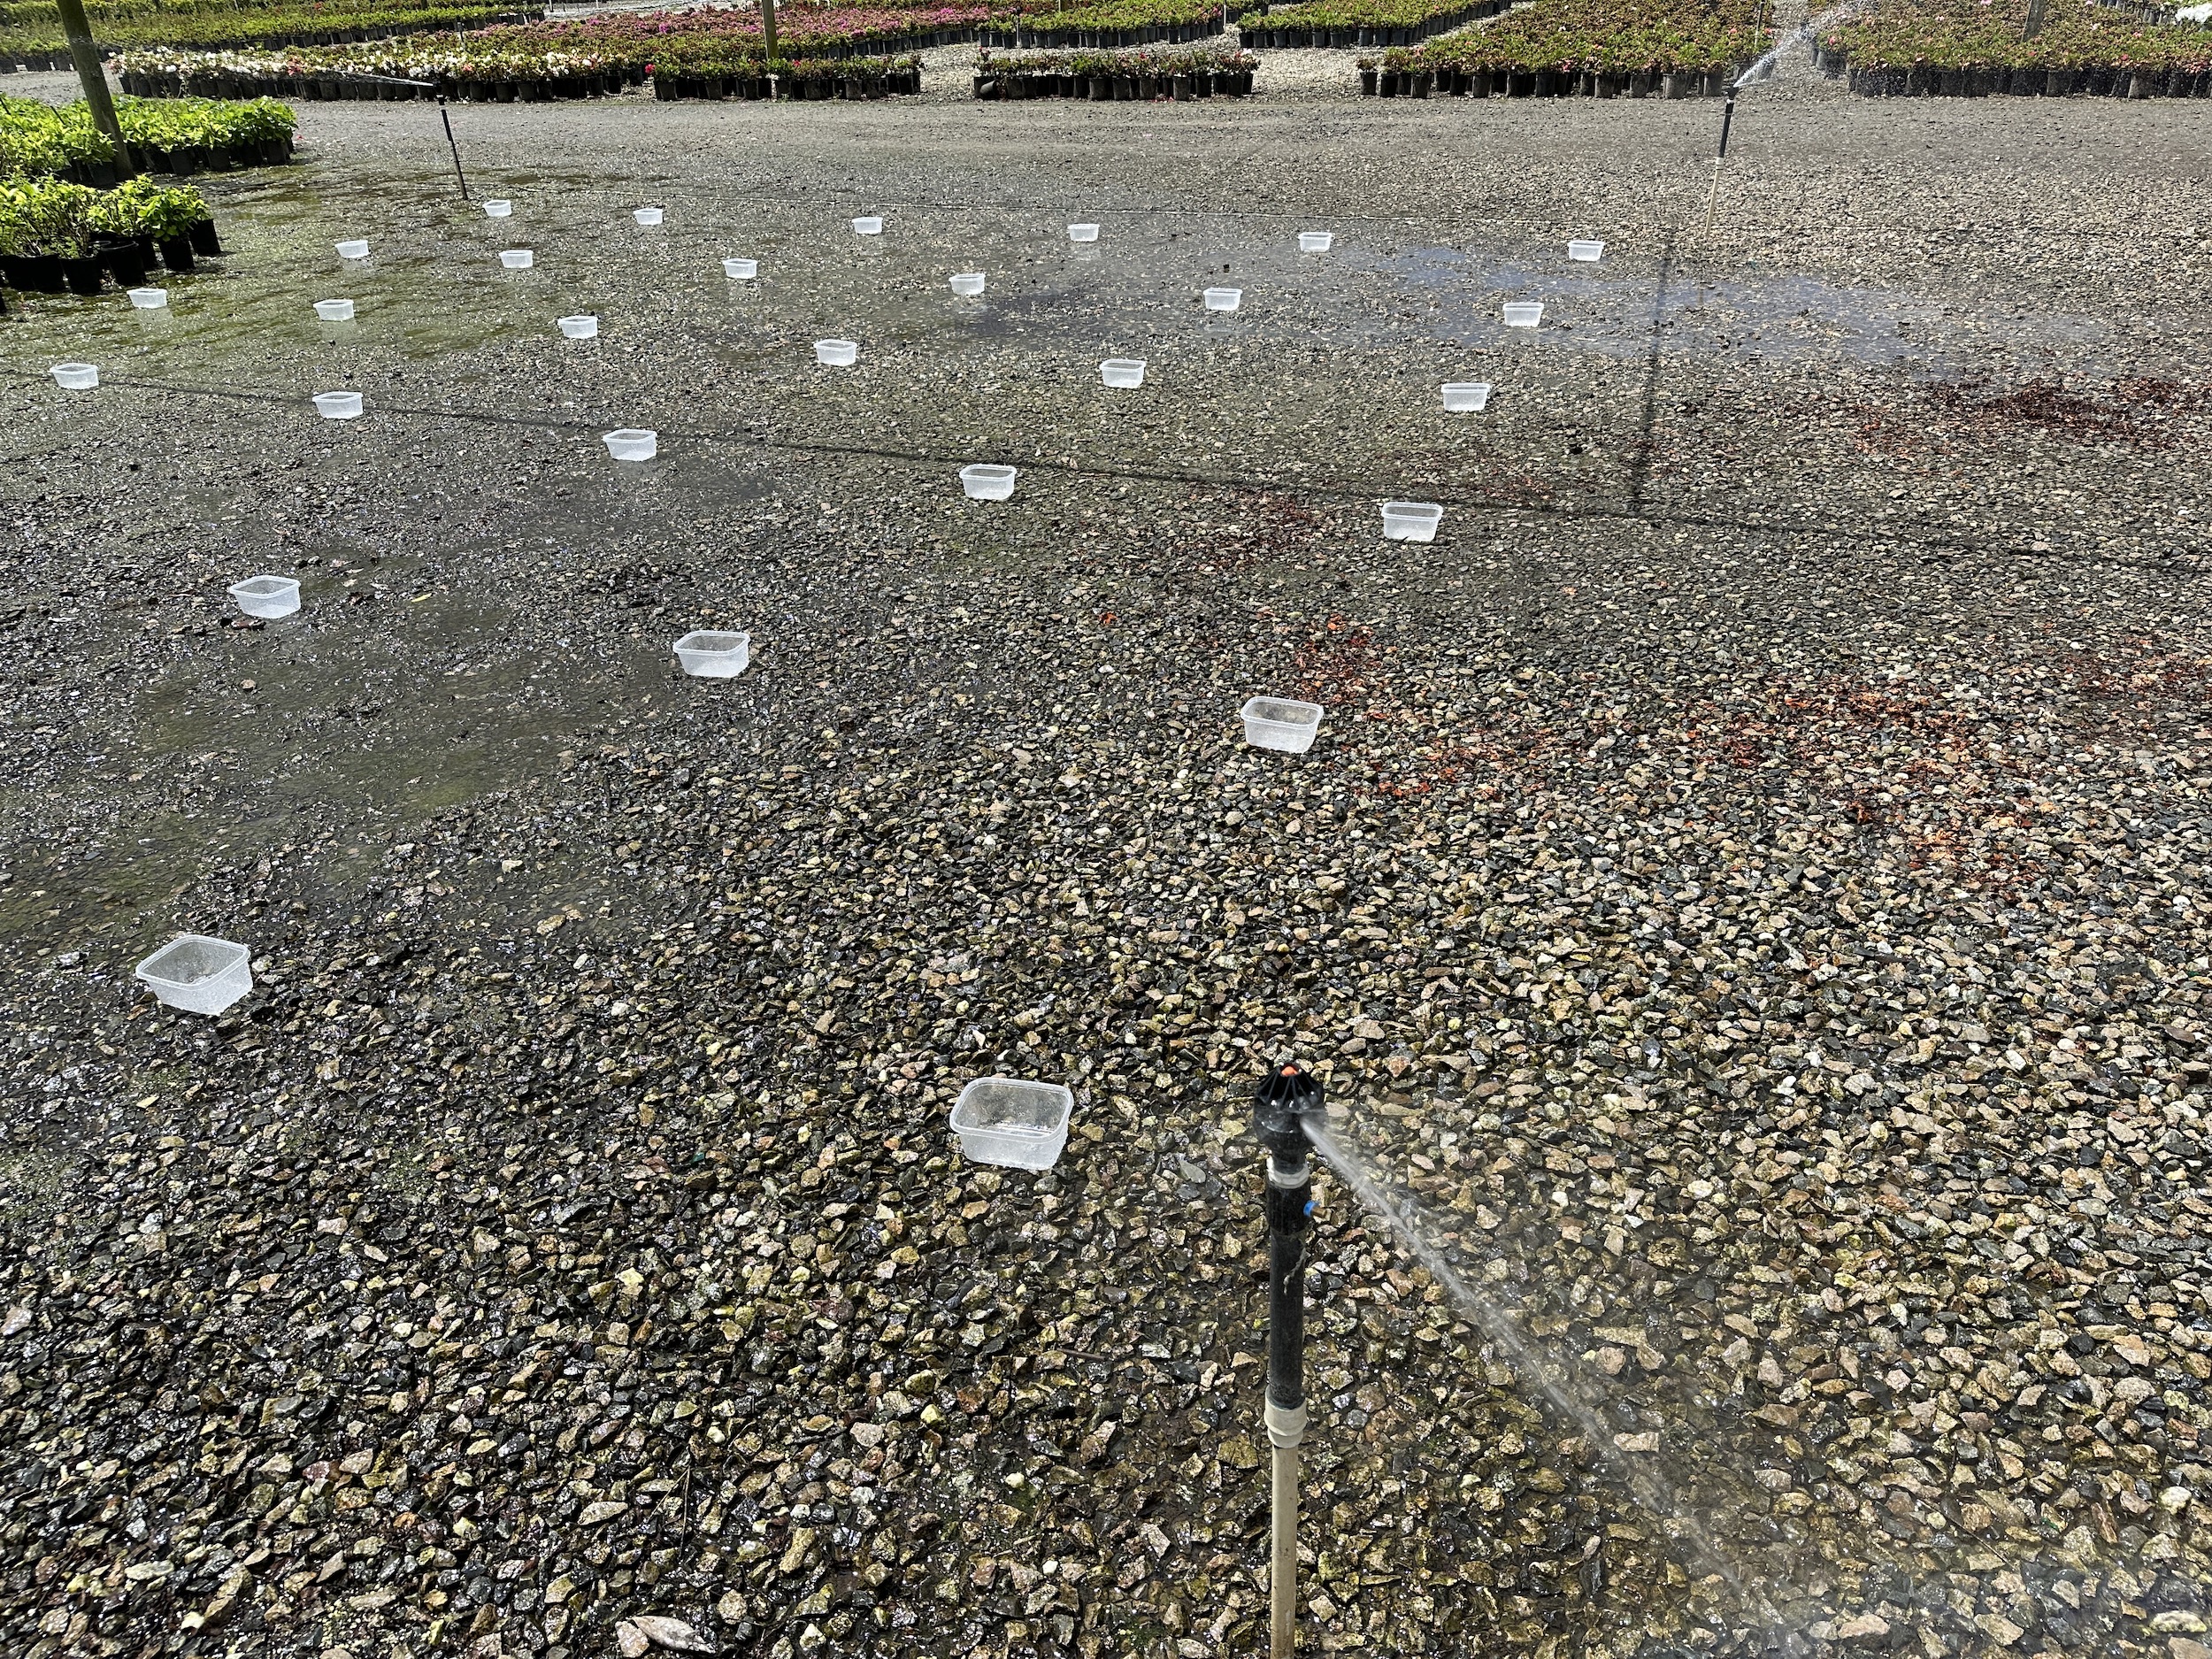
Sprinklers spray water to a circular area around them. The radius of the circle is called “throw” or “radius”, and it depends on sprinkler model, nozzle size, and operating pressure. Areas close to each sprinkler receive most water, while the volume of water applied to each area reduces as the distance from the sprinkler increases, tailing off to zero at the end of the throw. This is the reason why we need some amount of overlap between the water applied by each sprinkler with the adjacent sprinklers. Areas that receive only the tail from the far away sprinkler, will receive a lot of water from a close by one and vice versa. There is more complexity to this, but a common recommendation is to install sprinklers “head-to-head”, i.e. at a spacing distance between sprinklers equal to the radius. Head-to-head spacing also means full overlap of adjacent sprinklers. In addition to sprinkler spacing, the irrigation system designer needs to decide a layout, or the geometry of sprinkler placement. The best layout is the equilateral triangle, but many growers prefer a square pattern because it simplifies mechanization and automation, improving labor efficiency. A rectangular layout is not recommended since there will be more overlap between sprinklers on the line than between lines. A rectangular layout is okay as long as one side of the rectangle is not more than a third longer than the other (e.g. 15 ft by 20 ft). I’ve seen nurseries with sprinklers spaced 15 ft on the line and 30 ft between lines, this would give full overlap on the line and no overlap between which is a recipe for a bad distribution uniformity and a low irrigation efficiency.
Solution: Install sprinklers head-to-head in an equilateral triangle or square layout.
Emitters are clogged
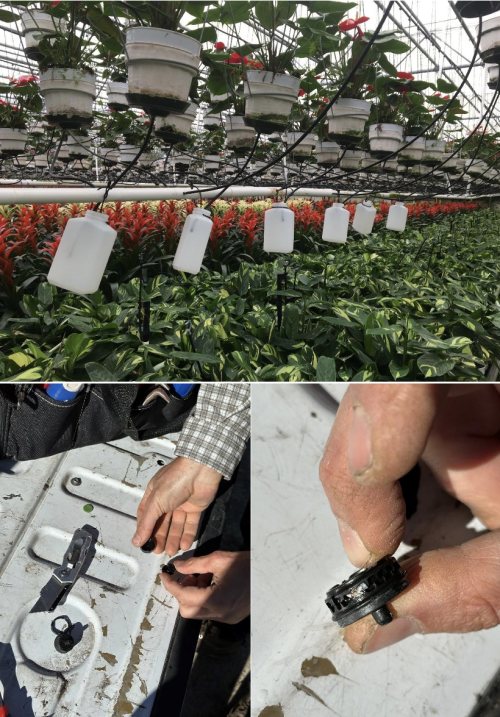
Sometimes we encounter the following scenario: a few years ago, the grower switched to drip irrigation, possibly pressure-compensated drip irrigation. After a few years of good operation, the irrigator is now overirrigating, lengthening irrigation run times or sneaking in irrigations when the grower is not watching. The system is now producing a lot of runoff, and there isn’t enough time in the work day for everybody to irrigate, since everybody wants to irrigate longer than in the original schedule. Sometimes irrigators even irrigate when it’s not their turn, dropping pressure for everybody else. What happened?
It's hard to pinpoint the problem, since the drops of water coming out of emitters are difficult to evaluate visually. This is in sharp contrast with the water coming out of sprinklers that is very visible. Once I met an irrigator that was able to tell me if one emitter was clogged just by looking at the frequency of drops coming out of it. He had trained himself to recognize the cadence of drops for that particular drip tape, and anything slower than that standard meant a clogged emitter. For those that don’t have such superpowers, I recommend setting containers or bottles under a line of emitters and measuring the volumes in the containers after an irrigation run. If some emitters are clogged, they must be replaced, and chances are that the next line will have some clogged emitters for the same reasons too. Sometimes clogged emitters are more frequent at the end of the lines, where all the dirt concentrates, but not always. The next step, that cannot be skipped, is the autopsy: what clogged our emitter? Specific solutions can be implemented depending on the material that we find when slicing open a clogged emitter. If we find in the emitter PVC burrs, they can be removed by a disc or screen filter, and we recommend installing one at the beginning of each polyethylene line. Algae can be reduced with peroxide or with quaternary ammonium. Calcium carbonate precipitate (caused by high alkalinity in the water) can be avoided by injection of acids at the water source.
Solution: Installing filters at each lateral line in addition to filters at the water source. Analyzing the chemistry of irrigation water will help identify issues and implement specific solutions (e.g. acid injection to treat high alkalinity).
Non-pressure compensating emitters on a ½-inch line
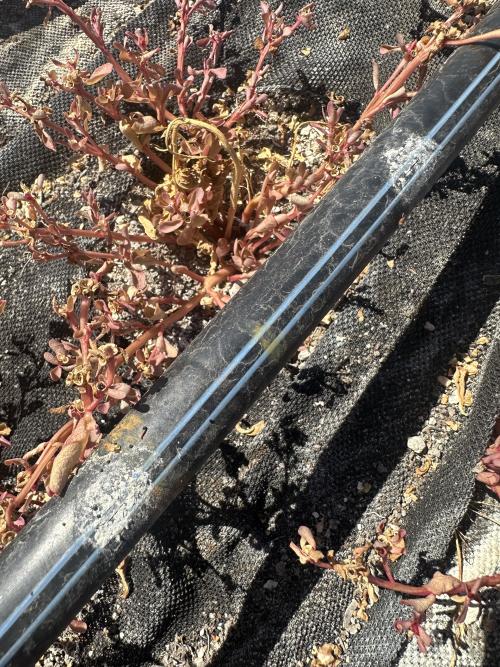
This is common in greenhouses. A polyethylene hose that serves many emitters or spaghetti tubing for irrigation stakes causes a pressure loss proportional to its length. Emitters at the end of the line will be exposed to low pressure and so they will discharge a low volume during the irrigation application, while emitters at the beginning of the line will be exposed to high pressure and will discharge a large volume. This is a recipe for low distribution uniformity and for producing a lot of runoff. The smaller the diameter of the hose the (exponentially) larger the pressure loss through it, so it’s always beneficial to install a ¾” or a 1” polyethylene hose. I cringe when I walk into a greenhouse and I see a ½” polyethylene drip hose with non-pressure compensating emitters. The pressure loss across an irrigation line depends on its length, but a ½” hose would work only for very short lengths. Also, the larger the flowrate through the hose, the (exponentially) larger the pressure loss. So, if you can use 0.5 GPH emitters instead of 2 GPH emitters, you will minimize the pressure loss, but you will have to irrigate four times longer to apply the same volume. In summer you may not have enough time to irrigate everything.
Solution: Install a larger diameter line that minimizes pressure differences through the line or install pressure-compensating emitters that are insensitive to pressure differences.
Mixing different brand or models of sprinklers or emitters in the same irrigation block
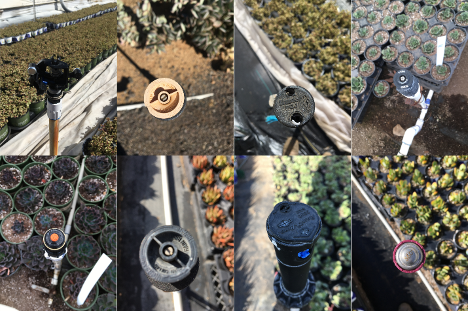
This is more common than you think. You’d think that it should go without saying that it’s not a good idea to mix sprinklers with different throws, flowrates and operating pressures; or emitters with different flowrates, but I see this very often. Sometimes it’s caused by the fact that the grower can’t find the old model from a manufacturer and they start replacing sprinkler heads with a new model gradually. This is a terrible idea. You need to bite the bullet and replace all the sprinklers in the irrigation block at once. Buy and store spare sprinklers for future replacement. Make sure you train your irrigator on this pitfall.
Solution: Don’t mix them!
Gerry Spinelli is a Production Horticulture Advisor with UC Cooperative Extension in San Diego County. He can be reached at gspinelli@ucanr.edu.
